GEORGE®
Sanitary Ware

One-Stop Building Materials · Sanitary Ware

Sanitary Ware for Bathroom Projects

Explore toilets, basins, vanity units, tapware, baths, mirrors and shower enclosures. Bring the product dimensions, finishes and connection details together for your bathroom schedule.

Plan the wash area

Bathroom Fixtures That Work Together

Sanitary ware selection starts with the products in each bathroom and the space they share. Toilets, basins, vanity units, taps, showers, baths and mirrors have different mounting and connection requirements. A coordinated selection brings those requirements into the same room schedule, rather than choosing each item from its appearance alone.

The catalogue range includes ceramic fixtures, bathroom cabinet combinations, tapware, freestanding baths, shower glass and accessories. Use the sections below to compare the product forms, then identify the dimensions and documents needed for the selected references. Catalogue images illustrate the visible products and arrangements; they are design references, not records of supplied or installed projects.

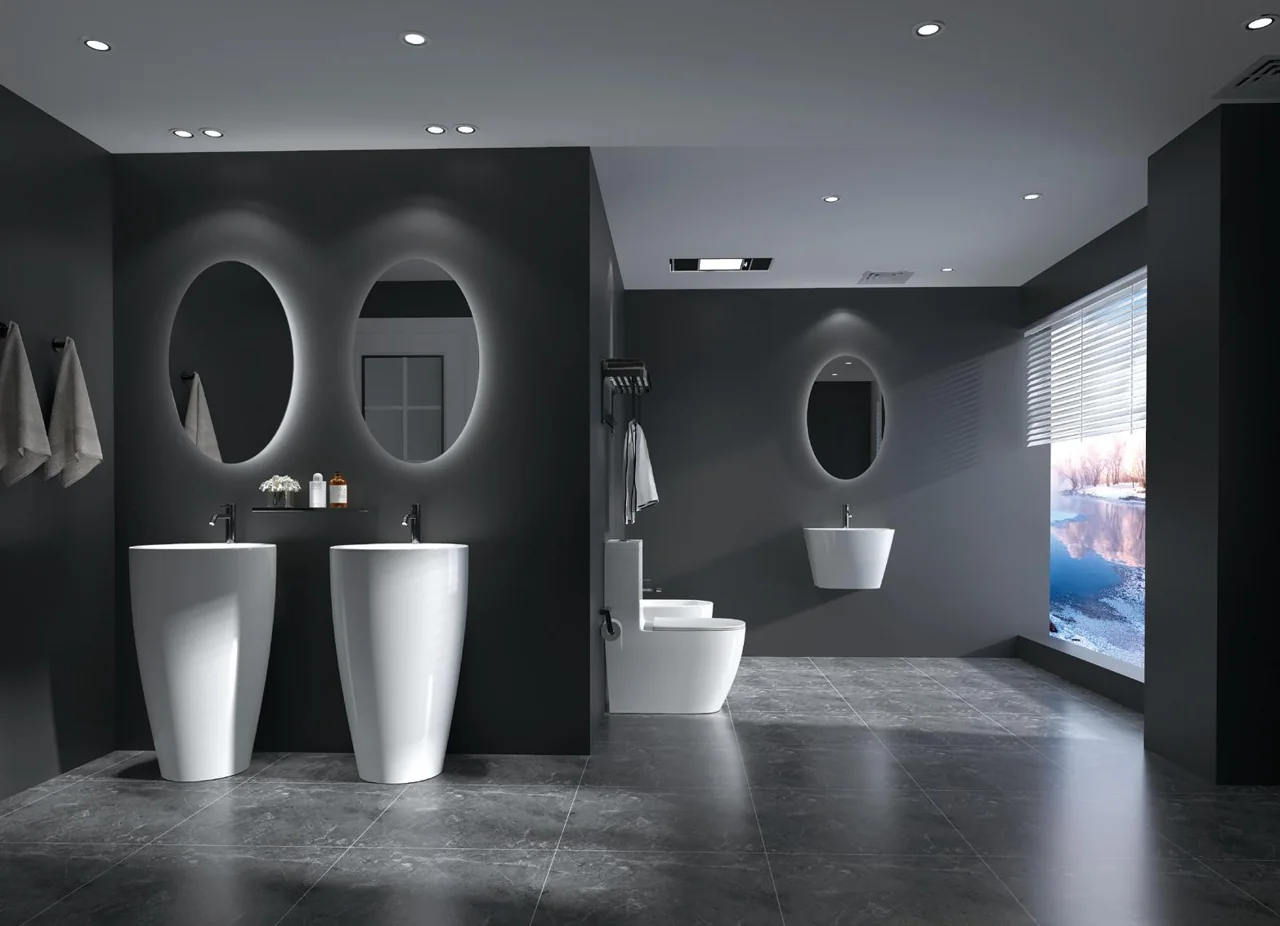
White toilet and pedestal basin in a dark bathroom catalogue scene
Sanitary Ware Catalogue

Wash area

Treat the basin, countertop, cabinet, tap and mirror as one arrangement. The basin form sets the tap relationship; the cabinet layout affects waste-pipe access; the mirror and any separate lighting share the wall above. Decide which components belong in the quotation and which are supplied by others.

WC and bathing area

The toilet needs a compatible drainage arrangement and mounting system. The shower and bath need room for entry, controls, cleaning and maintenance. Mark these positions on the bathroom plan so an enclosure door, vanity drawer or bath tap does not compete for the same space.

Basin Form Sets the Tap Relationship

Basins can sit above a counter, fit into it, form an integrated top, attach to the wall or stand on a pedestal. These forms change the visible height, counter use and plumbing access. The ceramic catalogue includes distinct mounting forms; the room arrangement should determine which form is appropriate to review.

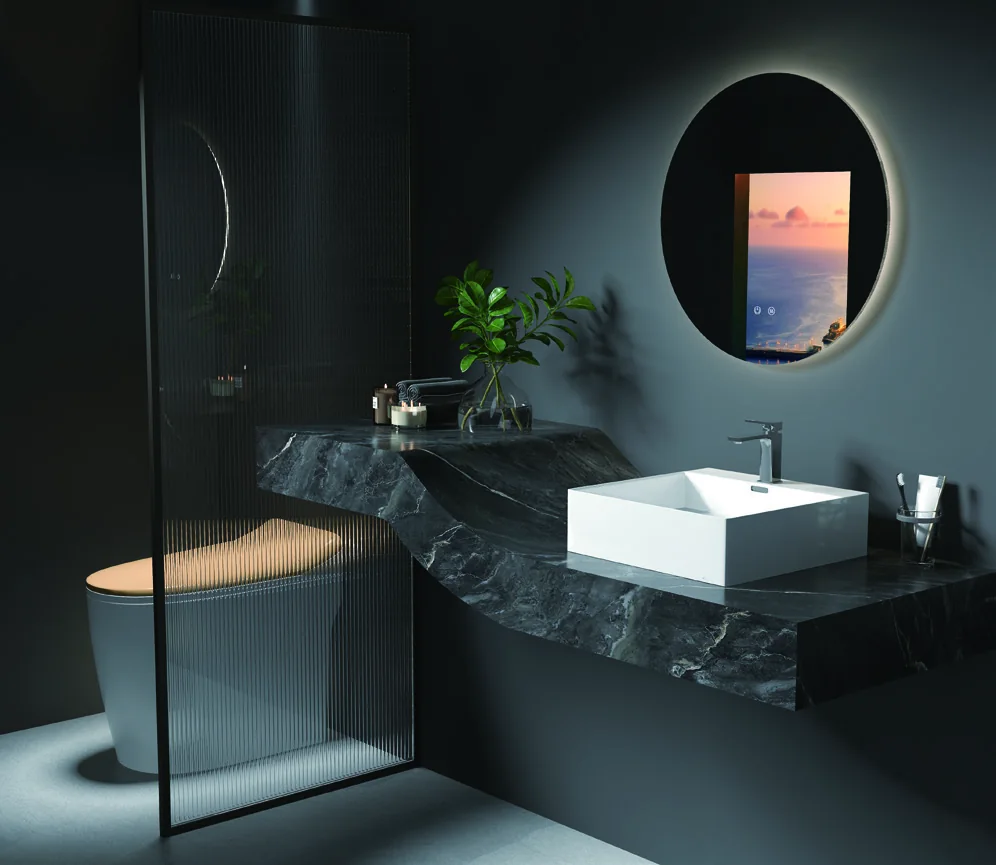
Rectangular countertop basin with a wall tap in a catalogue bathroom
Ceramic Products Catalogue

Above-counter basins

A vessel basin adds its own height above the worktop. Check the combined counter and basin arrangement with the tap, rather than specifying the tap from the cabinet height alone. The spout needs an appropriate position over the bowl, and the handle must remain accessible beside the basin and mirror.

Record whether the tap mounts through the counter or comes from the wall. Include the basin's tap-hole and overflow configuration, waste fitting and underside connection. A photograph can show the arrangement, but the selected basin drawing should establish the opening and connection details.

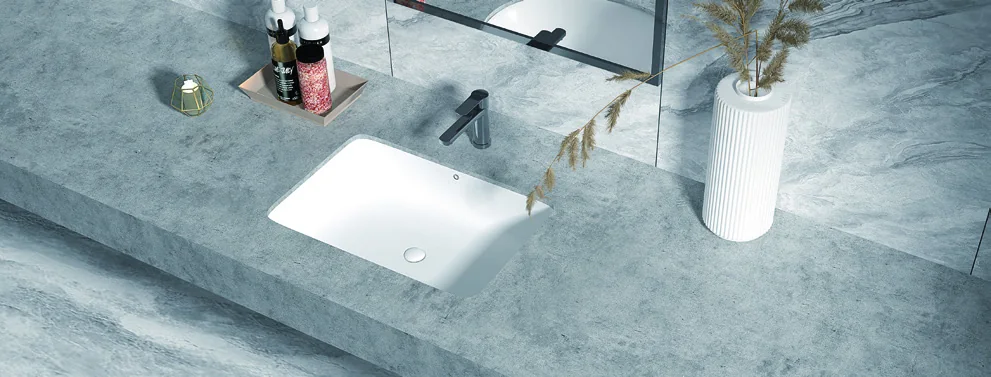
Inset rectangular basin and deck-mounted tap in a catalogue bathroom
Ceramic Products Catalogue

Inset basins

An inset basin sits within a prepared counter opening. Confirm the selected basin template, support, rim detail and tap holes before the top is fabricated. Check the waste, overflow and underside connections against the cabinet below.

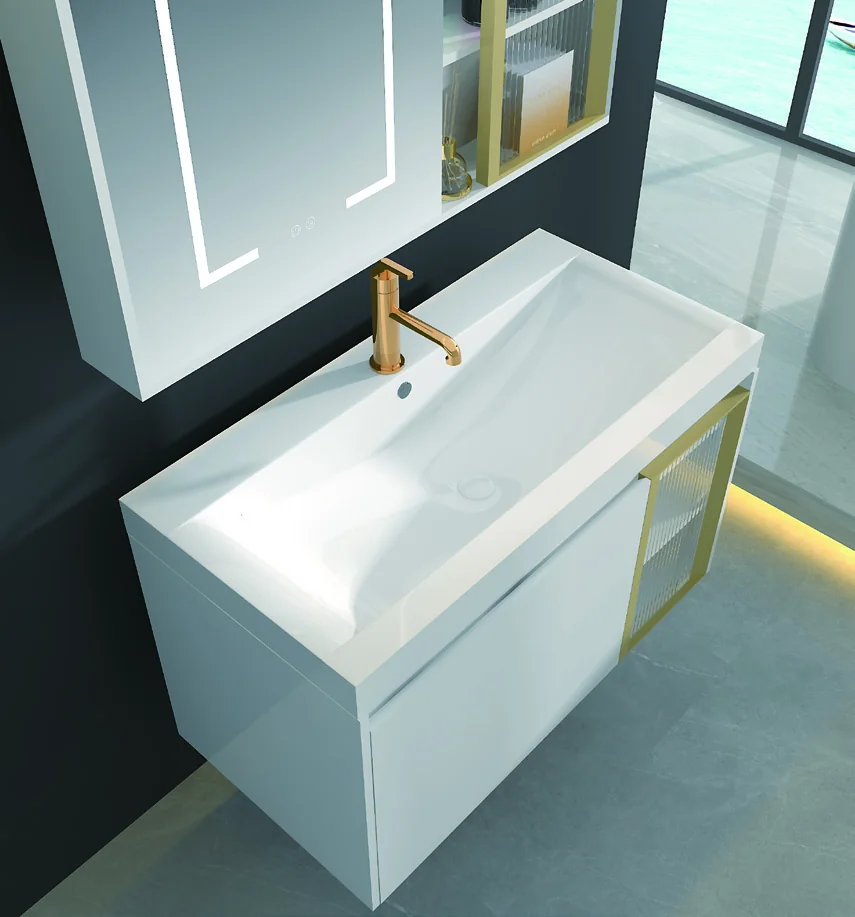
White integrated basin and counter viewed from above
Ceramic Products Catalogue

Integrated basin and top

An integrated basin and counter form one selected assembly. Review the overall width and depth, basin shape, front edge and waste positions on the same drawing. Confirm which parts of the top, basin and fittings are included in the quotation.

Check rear clearance against the tap and mirror, and the underside against the waste fitting and drawers. Keep basin and tap-hole positions on the approved drawing; a nominal cabinet width alone does not establish the complete top.

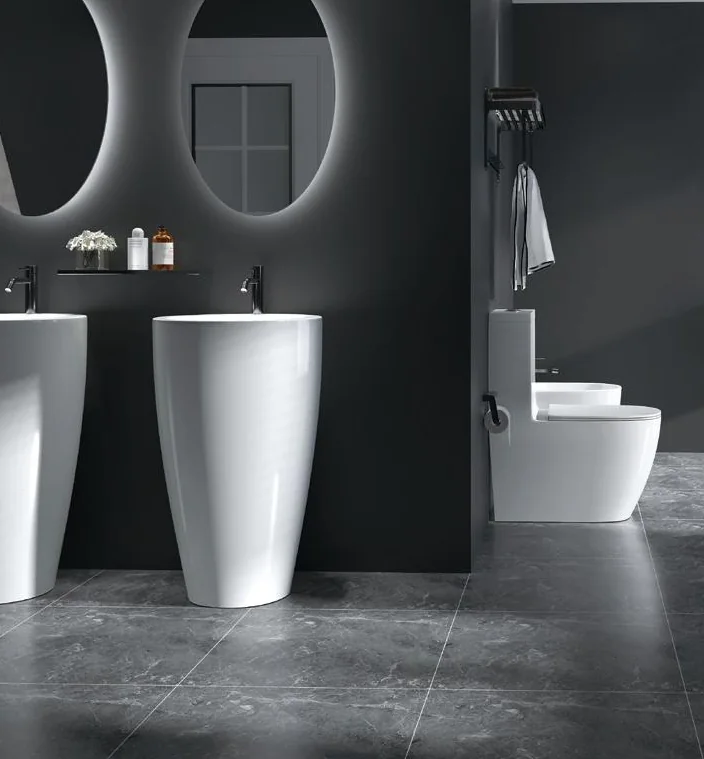
White pedestal basins in a dark catalogue bathroom scene
Ceramic Products Catalogue

Wall-hung and pedestal basins

Wall-hung and pedestal forms can create a wash area without a full vanity cabinet. Compare their projection, bowl shape, tap arrangement and visible pipework. Mark any required shelf or accessory separately instead of assuming it is included with the basin.

Check fixing positions against the supporting wall and coordinate the waste and supply routes. If exposed fittings are part of the intended appearance, identify their finish and inclusion in the quotation. The visible pedestal or basin body does not establish the entire mounting and plumbing assembly.

Plan the Vanity as an Assembly

A bathroom vanity combines storage with a basin and countertop. Its useful dimensions include depth and height as well as width. A narrow-looking cabinet may still project too far into a passage, while a wide cabinet may leave too little room for the basin and tap arrangement selected above it.

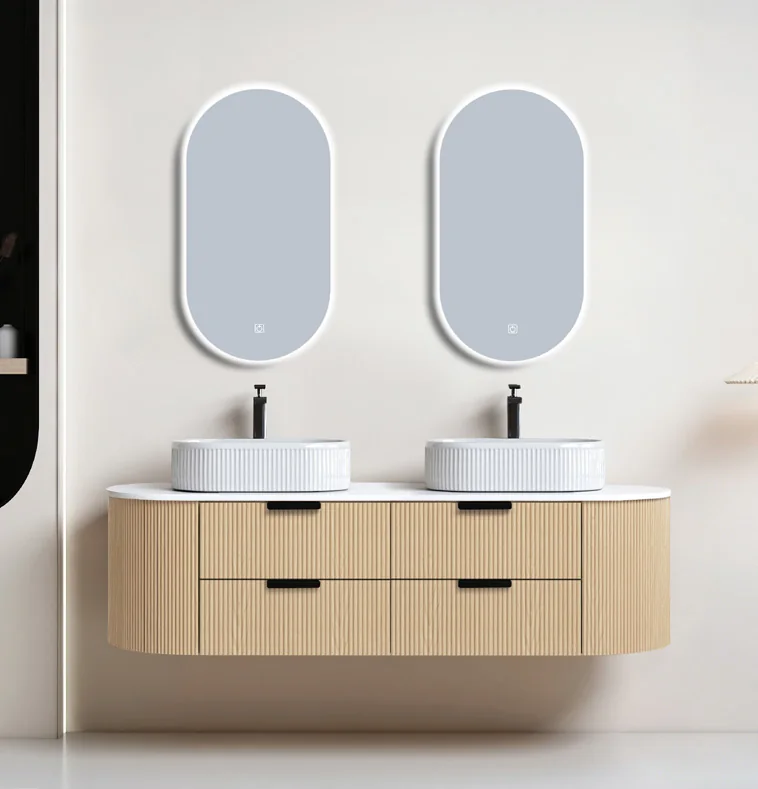
The bathroom cabinet catalogue shows wall-mounted arrangements, vessel basins and single or double mirror compositions. These examples help compare the complete wash area. The cabinet, top, basin, mirror, fittings and lighting should each be identified in the quotation so the photographed combination is not mistaken for the included package.

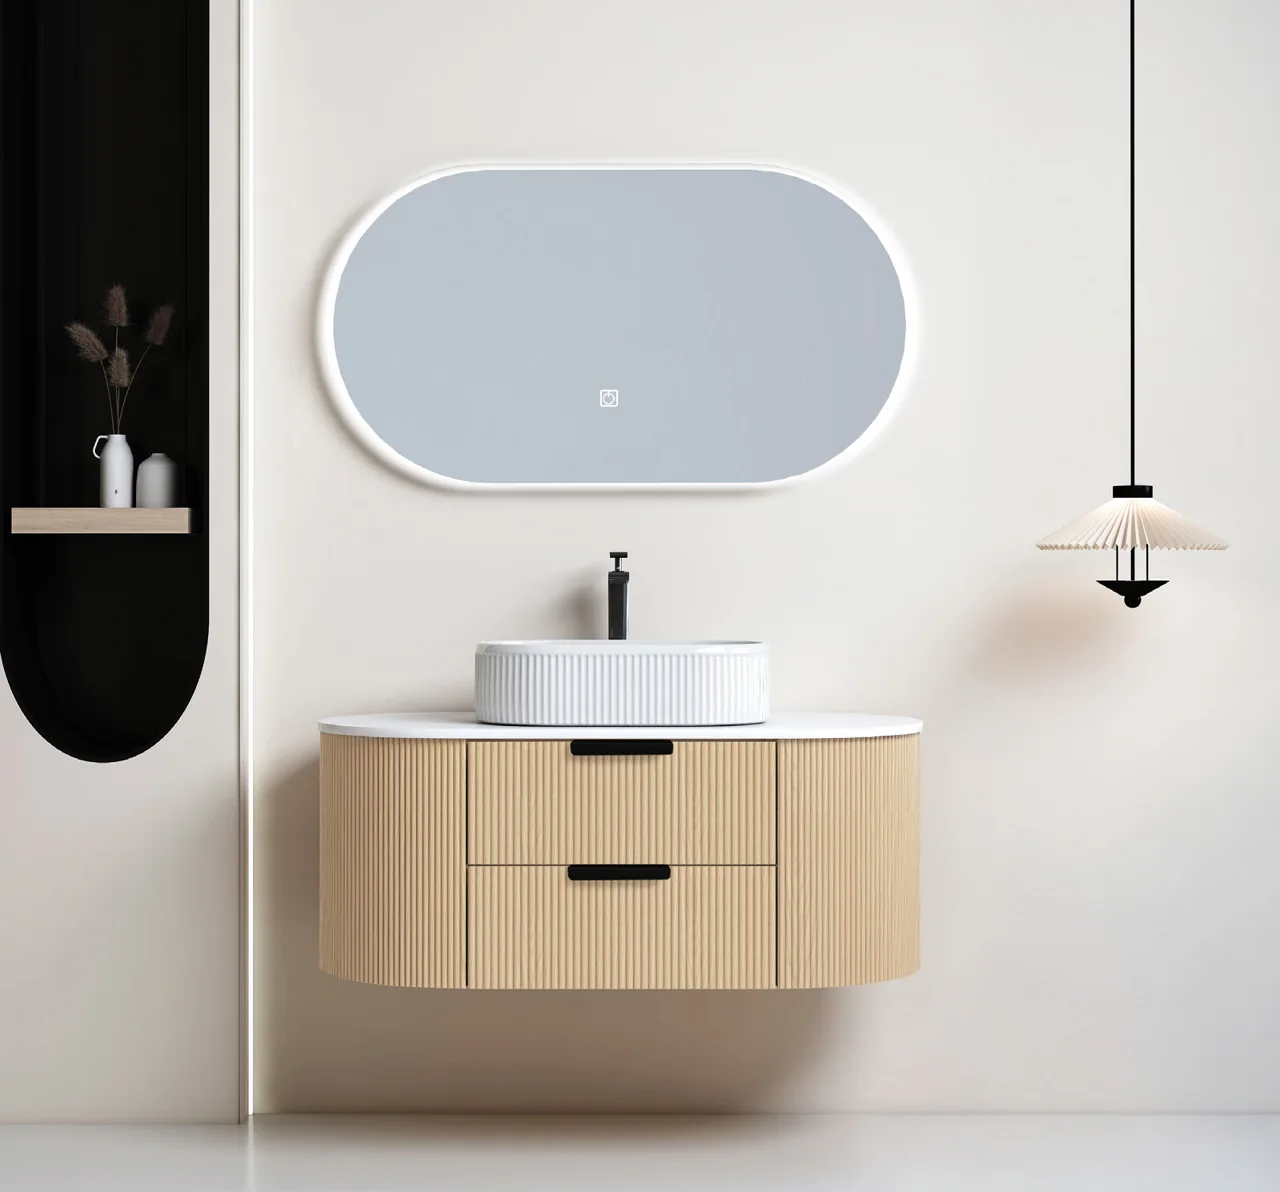
Wall-mounted curved vanity with vessel basin and oval illuminated mirror
Bathroom Cabinet Catalogue · 2723
Double vanity arrangement with two basins and two vertical mirrors
Bathroom Cabinet Catalogue · Double basin

Single or double wash area

For a single basin, decide where daily items sit and how the drawers open around the plumbing. For two basins, check the spacing between bowls, tap positions and the amount of usable counter at each side. The mirror may be one shared piece or two individual mirrors; either arrangement needs a coordinated wall elevation.

The catalogue's 2723 composition illustrates why component dimensions matter: cabinet, basin and mirror are listed separately. A nominal cabinet width alone cannot describe the finished combination. Use the selected reference's complete drawing when checking the overall assembly and its relationship to the room.

Plumbing and mounting space

Show the waste outlet and water-supply positions on the vanity elevation. Ask for the drawer or shelf arrangement around these connections and the access needed for fittings. Include the intended wall or floor mounting, the condition of the support and any adjacent side panel or filler.

For a renovation, record the finished dimensions available, including tile build-up and existing plumbing. For a new bathroom, keep the room drawing and vanity drawing on the same revision. General cabinet construction, door fronts, storage systems and hardware are covered in Cabinetry and Wardrobe; this page concentrates on the bathroom assembly and its interfaces.

Mirrors and the Wall Above the Basin

Mirror shape, width and position affect the balance of the wash area. Round, oval, rectangular and arched forms appear in the mirror references, including illuminated arrangements. Compare the mirror with the basin centreline, tap height, wall lights and nearby cabinets rather than viewing it as an isolated decorative piece.

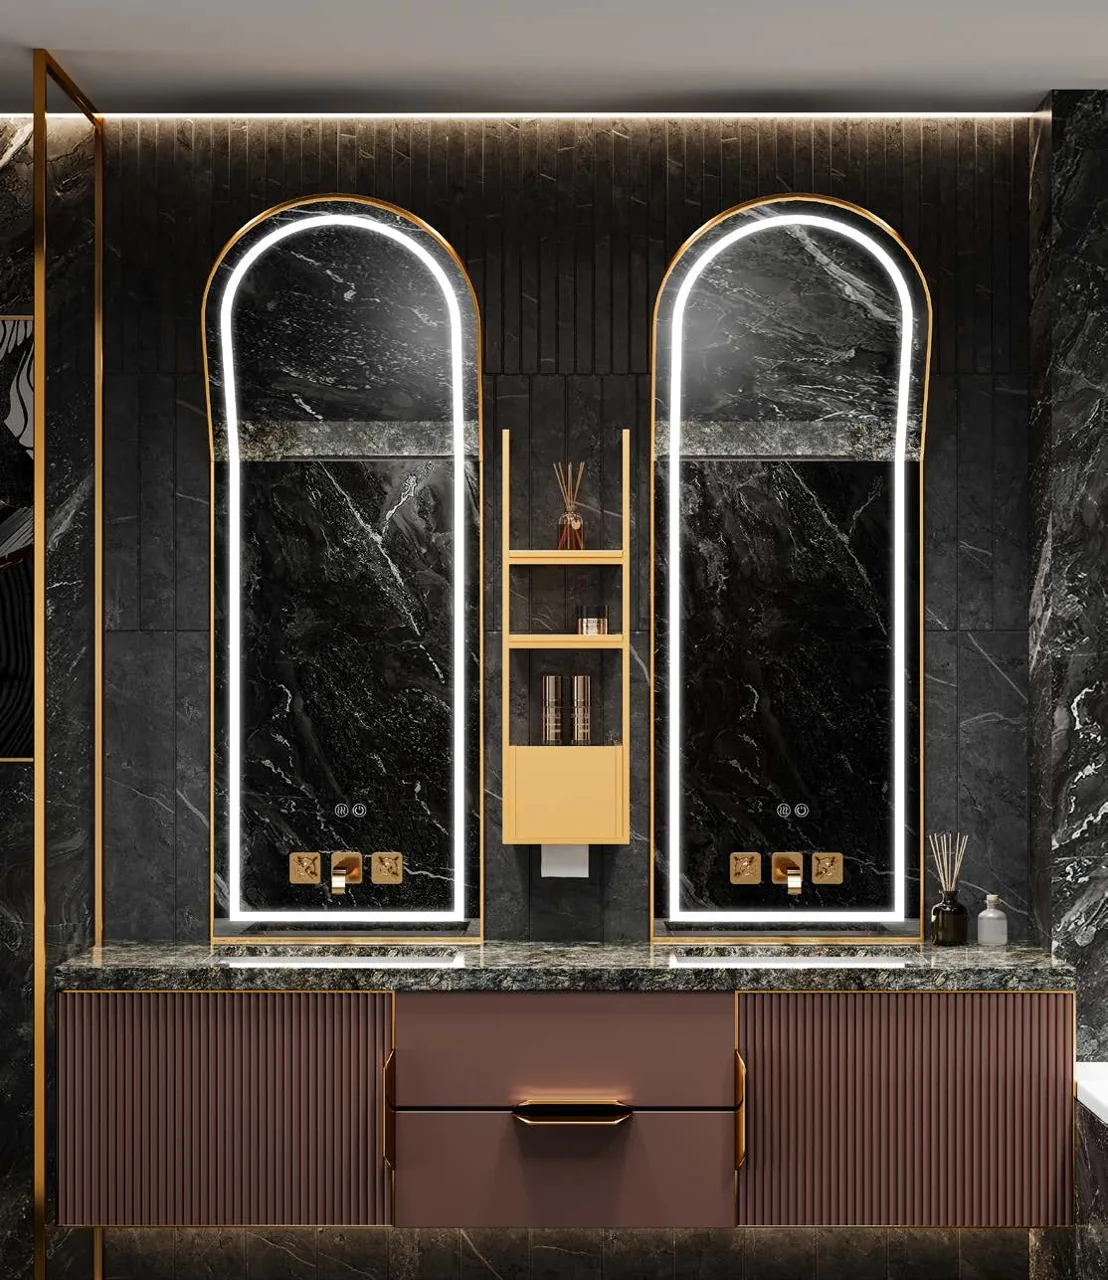
Two illuminated arched mirrors above a bathroom vanity
Mirror Catalogue

Mirror and mirror cabinet

A plain mirror and a mirror cabinet have different projections and access needs. If storage is required, identify the cabinet depth, door movement and relationship to the tap. Specify the mounting orientation and whether brackets or fittings are part of the selected product.

For a pair of mirrors, show their spacing on the elevation and coordinate each with its basin. For a wide shared mirror, check its actual overall dimensions and the location of surrounding finishes. The visible mirror outline is useful for design comparison; the product drawing establishes fixing points and any integrated components.

Integrated or separate lighting

An illuminated mirror is a combined bathroom product. Request its supply requirements, controls and access information for the chosen reference. Features such as demisting, displays or touch controls vary by model and should appear explicitly in the product schedule if required.

A separate lamp above or beside the mirror belongs in the lighting schedule. Coordinate its projection and cable point with the mirror and vanity. Include the intended location and destination requirements so the local electrician can review the selected products together; appearance alone does not establish electrical suitability.

Complete the bathroom

Toilet Forms and Connection Points

A toilet's outline does not identify its drainage connection, flushing arrangement or support system. The ceramic catalogue distinguishes one-piece, two-piece and wall-hung forms, while the smart-toilet references add powered products. Compare the complete assembly before selecting a finish or shape.

Floor-standing toilets

One-piece toilets combine the bowl and cistern in one ceramic body. Two-piece forms have a separate cistern and bowl. Their overall projection, cistern profile and connection positions still differ between references. Record the required drain orientation and rough-in, then compare them with the actual product drawing and finished wall position.

For a replacement, include the existing drain and water-supply locations, available width and nearby door movement. For a new room, use the current plumbing plan. Do not select a toilet solely because the outside dimensions resemble the existing unit: the connection underneath or behind it may be different.

Wall-hung toilets

Wall-hung bowls leave the floor beneath visible, but the bowl is only part of the system. Identify the carrier or frame, concealed cistern, flush plate and fixing arrangement. Confirm which parts are included with the bowl and how the selected assembly relates to the wall build-up.

The finished wall surface matters when checking projection and access. A service opening and flush plate must match the concealed system, and the support must be suitable for the project. Ask the local plumbing and construction team to confirm these interfaces; a catalogue bowl image does not establish wall strength or a compatible carrier.

Smart toilets

For a smart toilet, list the functions required rather than assuming every reference includes the same features. Request the exact product sheet for the selected model, its water connection and its electrical requirements. Include the destination market and the planned supply point in the enquiry.

Catalogue logos are a prompt to request the applicable documents, not proof that every colour, configuration or model has the same approvals. The current model identity and supporting documents need to match the product being quoted. Flush performance, water use and electrical features should be confirmed for that product.
Faucets and Shower Assemblies

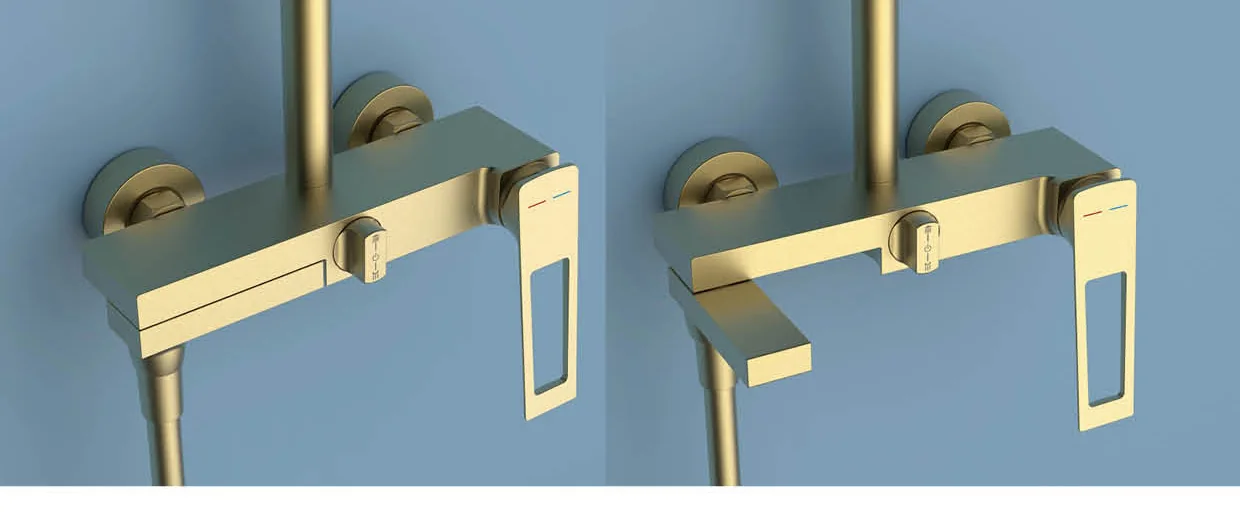
Tapware selection connects a visible finish to a concealed or exposed plumbing arrangement. Basin taps, bath fillers and shower sets serve different positions and should be listed separately. The checked tapware catalogue shows deck-mounted basin mixers, exposed shower sets and wall-mounted controls in several finish directions.

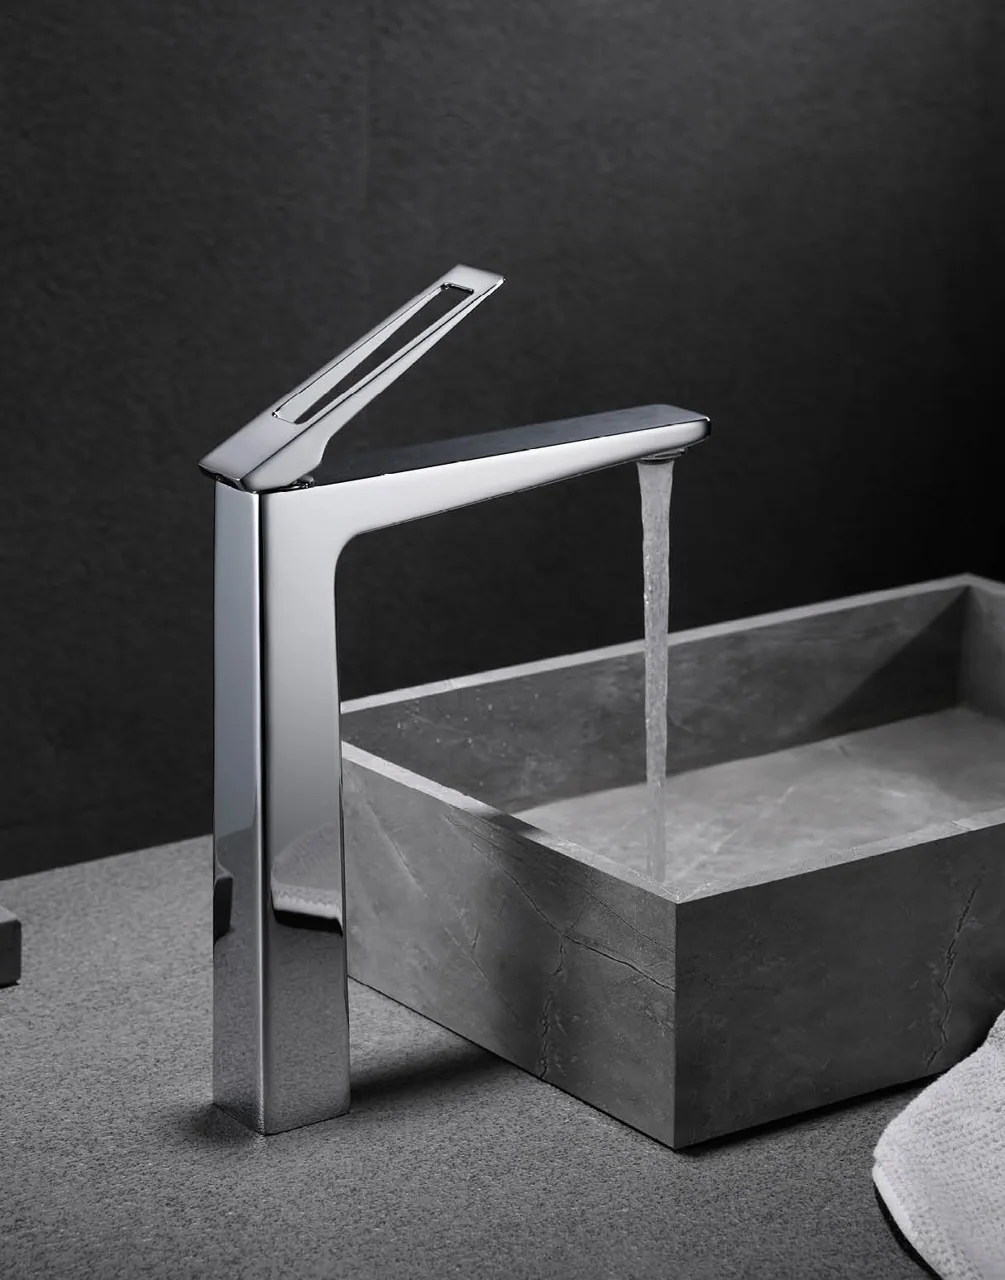
Angular basin tap mounted beside a basin in the tapware catalogue
Tapware Catalogue · Basin mixer

Basin and bath taps

For a basin tap, specify the mounting position, spout reach and height, handle space and intended basin reference. A wall-mounted tap needs a coordinated wall outlet position; a deck-mounted tap needs the correct opening in the basin or top. Ask for the matching waste and fittings if they belong in the supply scope.

Bath taps may mount on a deck, wall or floor, depending on the selected arrangement. Compare the filler with the bath rim and the space available around it. A floor-standing filler needs its own fixing and plumbing information; the photograph of a freestanding bath does not establish where that filler connects.

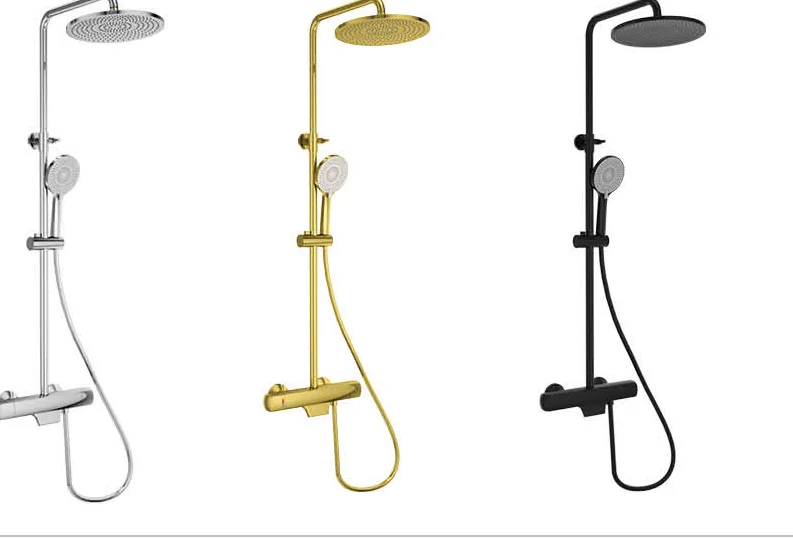
Three exposed shower sets shown in chrome, gold and black finishes
Tapware Catalogue · Exposed shower sets

Exposed and concealed showers

An exposed shower set shows the control body, riser or rail and shower outlets. Identify the required overhead shower, hand shower, hose and holder. Check the selected set's connection drawing against the plumbing points, including the adjustment or movement space around the fittings.

A concealed shower separates the visible outlets and trim from the body inside the wall. Confirm the required rough-in body, outlet count and controls as one compatible combination. Include wall depth, finished surface and maintenance access in the discussion before the wall is closed. Do not assume a visible trim set includes every concealed component.

Two gold-coloured wall-mounted shower controls in the tapware catalogue
Tapware Catalogue · Shower controls

Finish and operating requirements

Chrome, gold-coloured, black and grey examples are useful finish references, but colour names alone do not establish matching across separate collections. Compare physical samples where a tap, shower, enclosure and accessory need to share the same appearance. Record the approved finish reference with each item.

Request the product-specific operating conditions, connection sizes, flow information and relevant market documents. Identify whether a mixer or thermostatic arrangement is required without assuming either from a product photo. The local plumbing team should confirm compatibility with the planned water system.

Baths and the Space Around Them

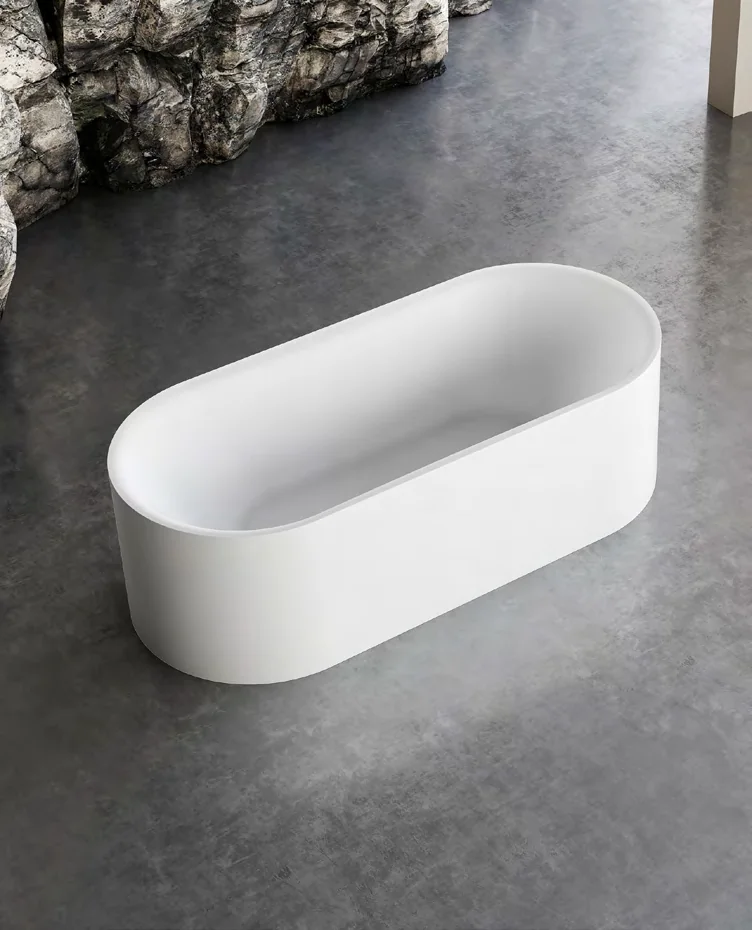
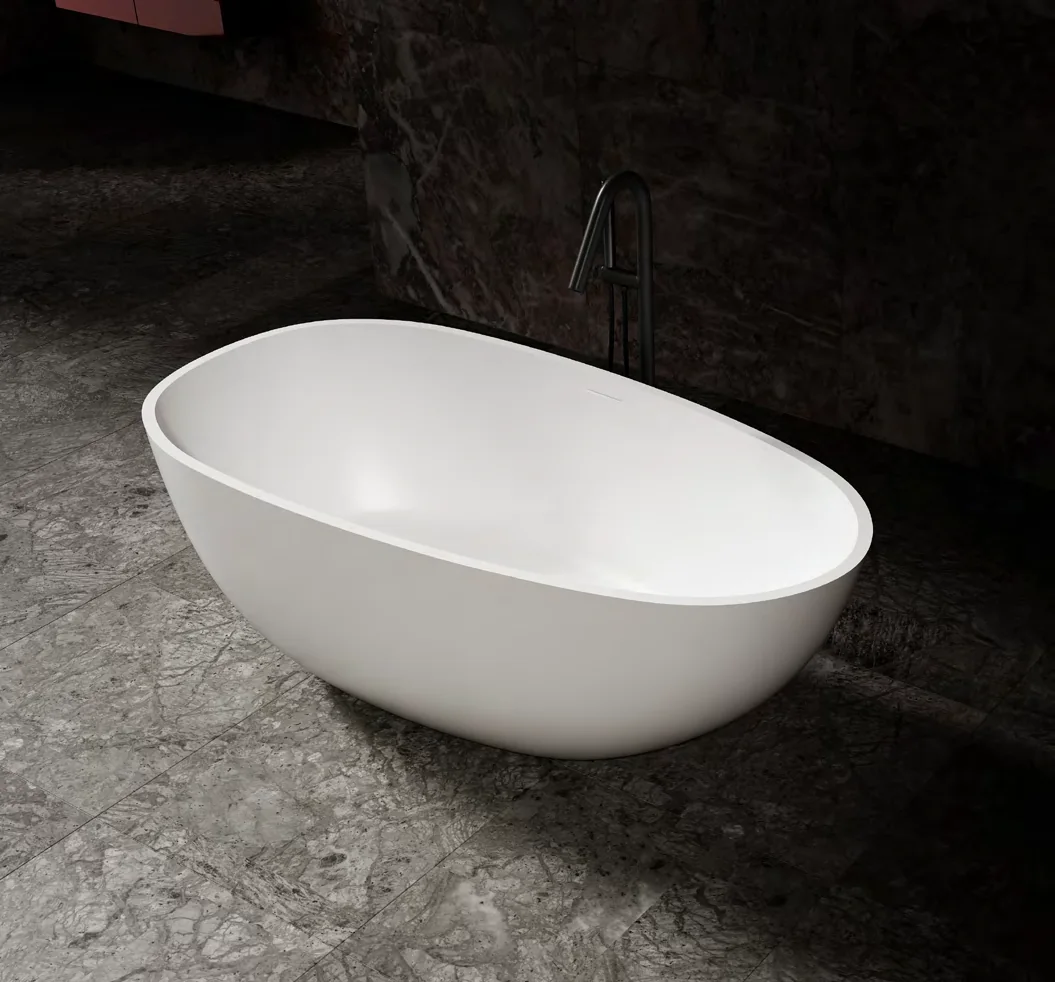
The bath references include acrylic and artificial-stone catalogue forms, with rounded and more rectangular outlines. Material family, overall shape and installation arrangement are separate decisions. Select the bath with the room plan, entry route, drainage position and tap arrangement in view.

White freestanding bath in an acrylic bathtub catalogue scene
Acrylic Bath Catalogue
Oval white bath against dark walls in an artificial-stone bath catalogue
Artificial-Stone Bath Catalogue

Form, dimensions and waste

A freestanding bath exposes more of its outer shape and changes how the adjacent floor and tap are arranged. A bath placed close to walls requires attention to the spaces that remain for cleaning and access. Compare overall length and width with the interior bathing shape shown on the selected drawing.

Confirm the waste and overflow locations, included drain fittings and connection access. Mark the filler position and the route into the room. The product's delivery dimensions and weight need to be checked before ordering; a catalogue scene cannot confirm that the bath will pass through the intended opening or suit the supporting floor.

Powered bath options

If massage or another powered function is part of the request, identify the complete model and equipment package. Ask for its electrical and water requirements, access panels, controls and maintenance information. A similar-looking unpowered bath should not be treated as the same specification.

Keep any structural, electrical and plumbing checks with the project's relevant professionals. Catalogue labels or wellness descriptions do not establish a health benefit, suitable loading or approval for the destination. The quotation should state the selected bath and included components clearly.

Shower Glass and Finished Openings

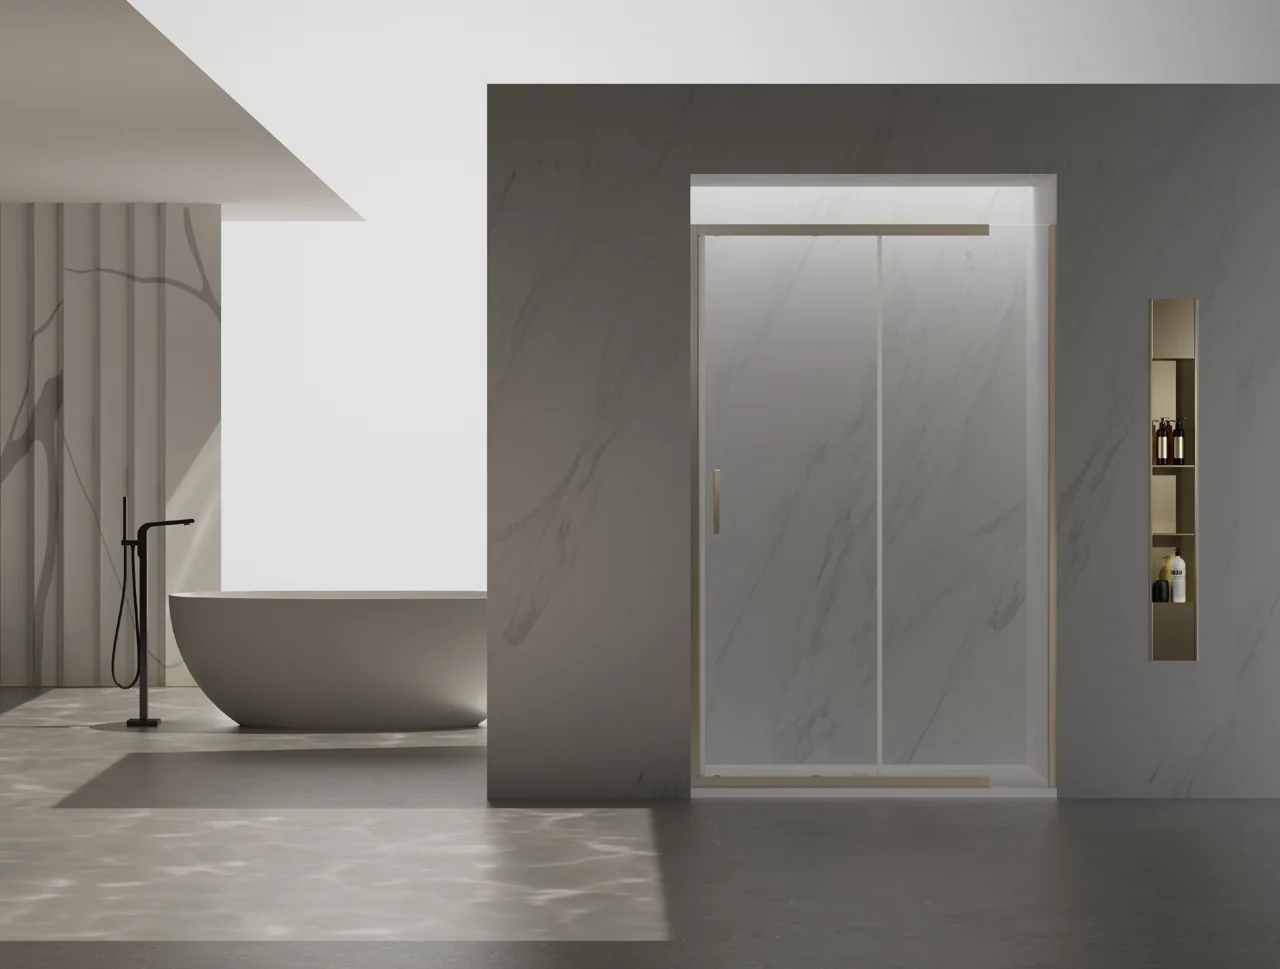
Shower enclosures are bathroom assemblies: glass panels, opening leaves, profiles, handles and fittings meet the finished floor and walls. The partition catalogue shows sliding arrangements and close views of hardware. Compare the opening movement with the usable shower space and the products beside it.

Framed sliding shower enclosure beside a freestanding bath
Shower Glass Catalogue

Door movement and enclosure form

A sliding arrangement keeps its movement within the enclosure, while a hinged or pivoting leaf needs a clear movement area. Fixed panels define the shower boundary without providing the same entry arrangement. Identify the required shape, opening side and entry position on the bathroom plan.

Check the relationship to the toilet, bath, vanity and towel fittings. A door that appears suitable in an empty opening may conflict with a handle or drawer once the room is furnished. Mark the usable entry and any nearby obstruction before selecting the final configuration.

Close view of shower glass hinges and a handle
Shower Glass Catalogue · Hardware

Measurements and hardware

Use finished opening dimensions and identify whether surfaces are already complete. Record wall alignment, floor or tray level, returns and any ledge that changes the panel arrangement. The selected system's drawing should identify profiles, glass configuration, fixings and the parts included in the quotation.

Glass type, thickness, treatments and applicable documentation must be confirmed for the actual system. A clear catalogue photograph does not establish a safety classification or suitability for every opening. Architectural doors and glazing remain in Doors and Windows; shower partitions are reviewed here with the bathroom fittings and finished surfaces.

Keep glass, profiles, opening leaves and fittings on the same selected system drawing.

Accessories and Finish Coordination

Towel rails, hooks, paper holders, shelves, wastes and valves complete the room schedule. They may be visually small, but their mounting positions and inclusion can affect the finished bathroom. List accessories by room and quantity instead of relying on a general request for a matching set.

Visible accessories

Choose the position and projection of each accessory alongside the shower, toilet and wash area. Include the length or size required and the intended finish. Check the fixing arrangement with the wall surface and supporting construction, especially where the location affects waterproofed areas.

Connection fittings

Wastes, traps, valves and hoses should be matched to the selected products and the planned plumbing. Identify the fitting reference or required interface and state whether it is included, quoted separately or supplied locally. A matching visible finish does not establish a compatible connection.

Use a sample or approved finish reference when matching products from different collections. Keep the room's accessories and fittings with its principal fixture references so a later change to a basin, tap or enclosure does not leave an incompatible item in the order.

Prepare the enquiry

Prepare a Bathroom Fixture Schedule

A useful enquiry brings together the room plan, product references and connection information. Start with one row for each fixture or assembly, then add the room identifier and quantity. If a selection is still open, describe the form and the dimensions available rather than substituting a guessed model.

Bathroom fixture information to confirm for the selected products
AssemblyProduct informationRoom interface
ToiletBowl, cistern/carrier, flush plate, drain orientation and selected modelFinished wall, rough-in, supply, support and service access
Basin and vanityBasin form, top, tap holes, waste, cabinet and mirror inclusionCounter height/depth, pipe positions, drawers and fixing surface
Tap and showerBody/trim, outlets, fittings, finish and operating documentsMounting, water system, wall depth and access
BathDimensions, weight, waste/overflow and any powered equipmentEntry route, support, filler position and connection access
Shower glassOpening form, panel/system drawing, glass and hardware documentsFinished opening, wall alignment, level and adjacent products
Powered productsExact model, voltage/frequency, controls and market documentsSupply point, location and local electrical review

Product and drawing information

Send the bathroom plan and relevant elevations, including finished wall and floor conditions. Add toilet drainage and carrier details, basin and vanity dimensions, tap mounting, shower opening and bath access. For powered products, include the destination market and the electrical information already defined by the project.

Samples and documents

Request the exact selected model's dimensions, connection drawing, component list, care information and applicable market documents. For visible finishes, identify the sample or reference to be reviewed. Certification names or logos should be checked against the model and configuration being supplied, not carried across the whole category.

Quantities and quotation scope

List room counts, repeated bathroom types and spares. Separate complete assemblies, loose fittings and items supplied by others. Keep the schedule and drawings on one revision, and confirm product identification and packing in the quotation. Recheck neighbouring fixtures when a basin, vanity, tap, mirror or enclosure changes.

FAQ

Sanitary Ware Questions

Product selection and connection details to confirm before requesting a quotation.

What should a bathroom fixture schedule include?

List each toilet, basin, vanity, tap, shower, bath, mirror and accessory by room and quantity. Add the selected reference or required form, finish, dimensions and connections. Identify components supplied by others and keep the schedule with the latest drawings.

What needs checking for a wall-hung toilet?

Confirm the bowl, carrier or frame, concealed cistern, flush plate and fixing arrangement as a compatible assembly. Check drainage, supply, finished wall position and service access with your local plumbing and construction team.

How do I coordinate the basin, vanity and tap?

Review them as one assembly. Check the basin form, counter and cabinet dimensions, tap mounting and reach, waste position, drawer clearance and mirror arrangement. Use the selected product drawings rather than a nominal cabinet width alone.

What information is needed for shower glass?

Send the required opening form and direction, finished opening measurements, wall alignment, floor or tray levels and nearby obstructions. Request the selected system's panel, hardware and glass documentation for review.

How should powered bathroom products be checked?

Confirm the exact model, water connections, voltage and frequency, controls, installation information and destination-market documents. Do not assume catalogue logos cover every model, configuration or market.

What should I ask about packing?

Ask for the proposed protection and package identification for the actual products, including fragile ceramics, glass, mirrors and separate fittings. Confirm the arrangement in the quotation rather than assuming one method applies to the whole category.

Start a Conversation

Ready to Start Your Project

Share the project information you have. We will review the scope and prepare a quotation.

Any of these is enough to begin

  • Floor Plan
  • BOQ or Material List
  • Reference Images
  • Project Location and Timeline
Contact Us